This full-size Master Sword from The Legends of Zelda is my first big project. It took just under twenty hours on my Prusa MK3S and required some post-processing to get it looking awesome!
The Master Sword was designed by ChaosCoreTech and was downloaded from Thingiverse. This file is shared under the Creative Commons – Attribution license.
3D Printer
- Prusa MK3S
- Nozzle Size: 0.6mm
- Layer Height: 0.30mm
Materials used
- Hello3D Pearl White PLA
- Gorilla Glue
- Acrylic Paint
- Paash Airbrush
- Sandpaper (120, 300, 400)
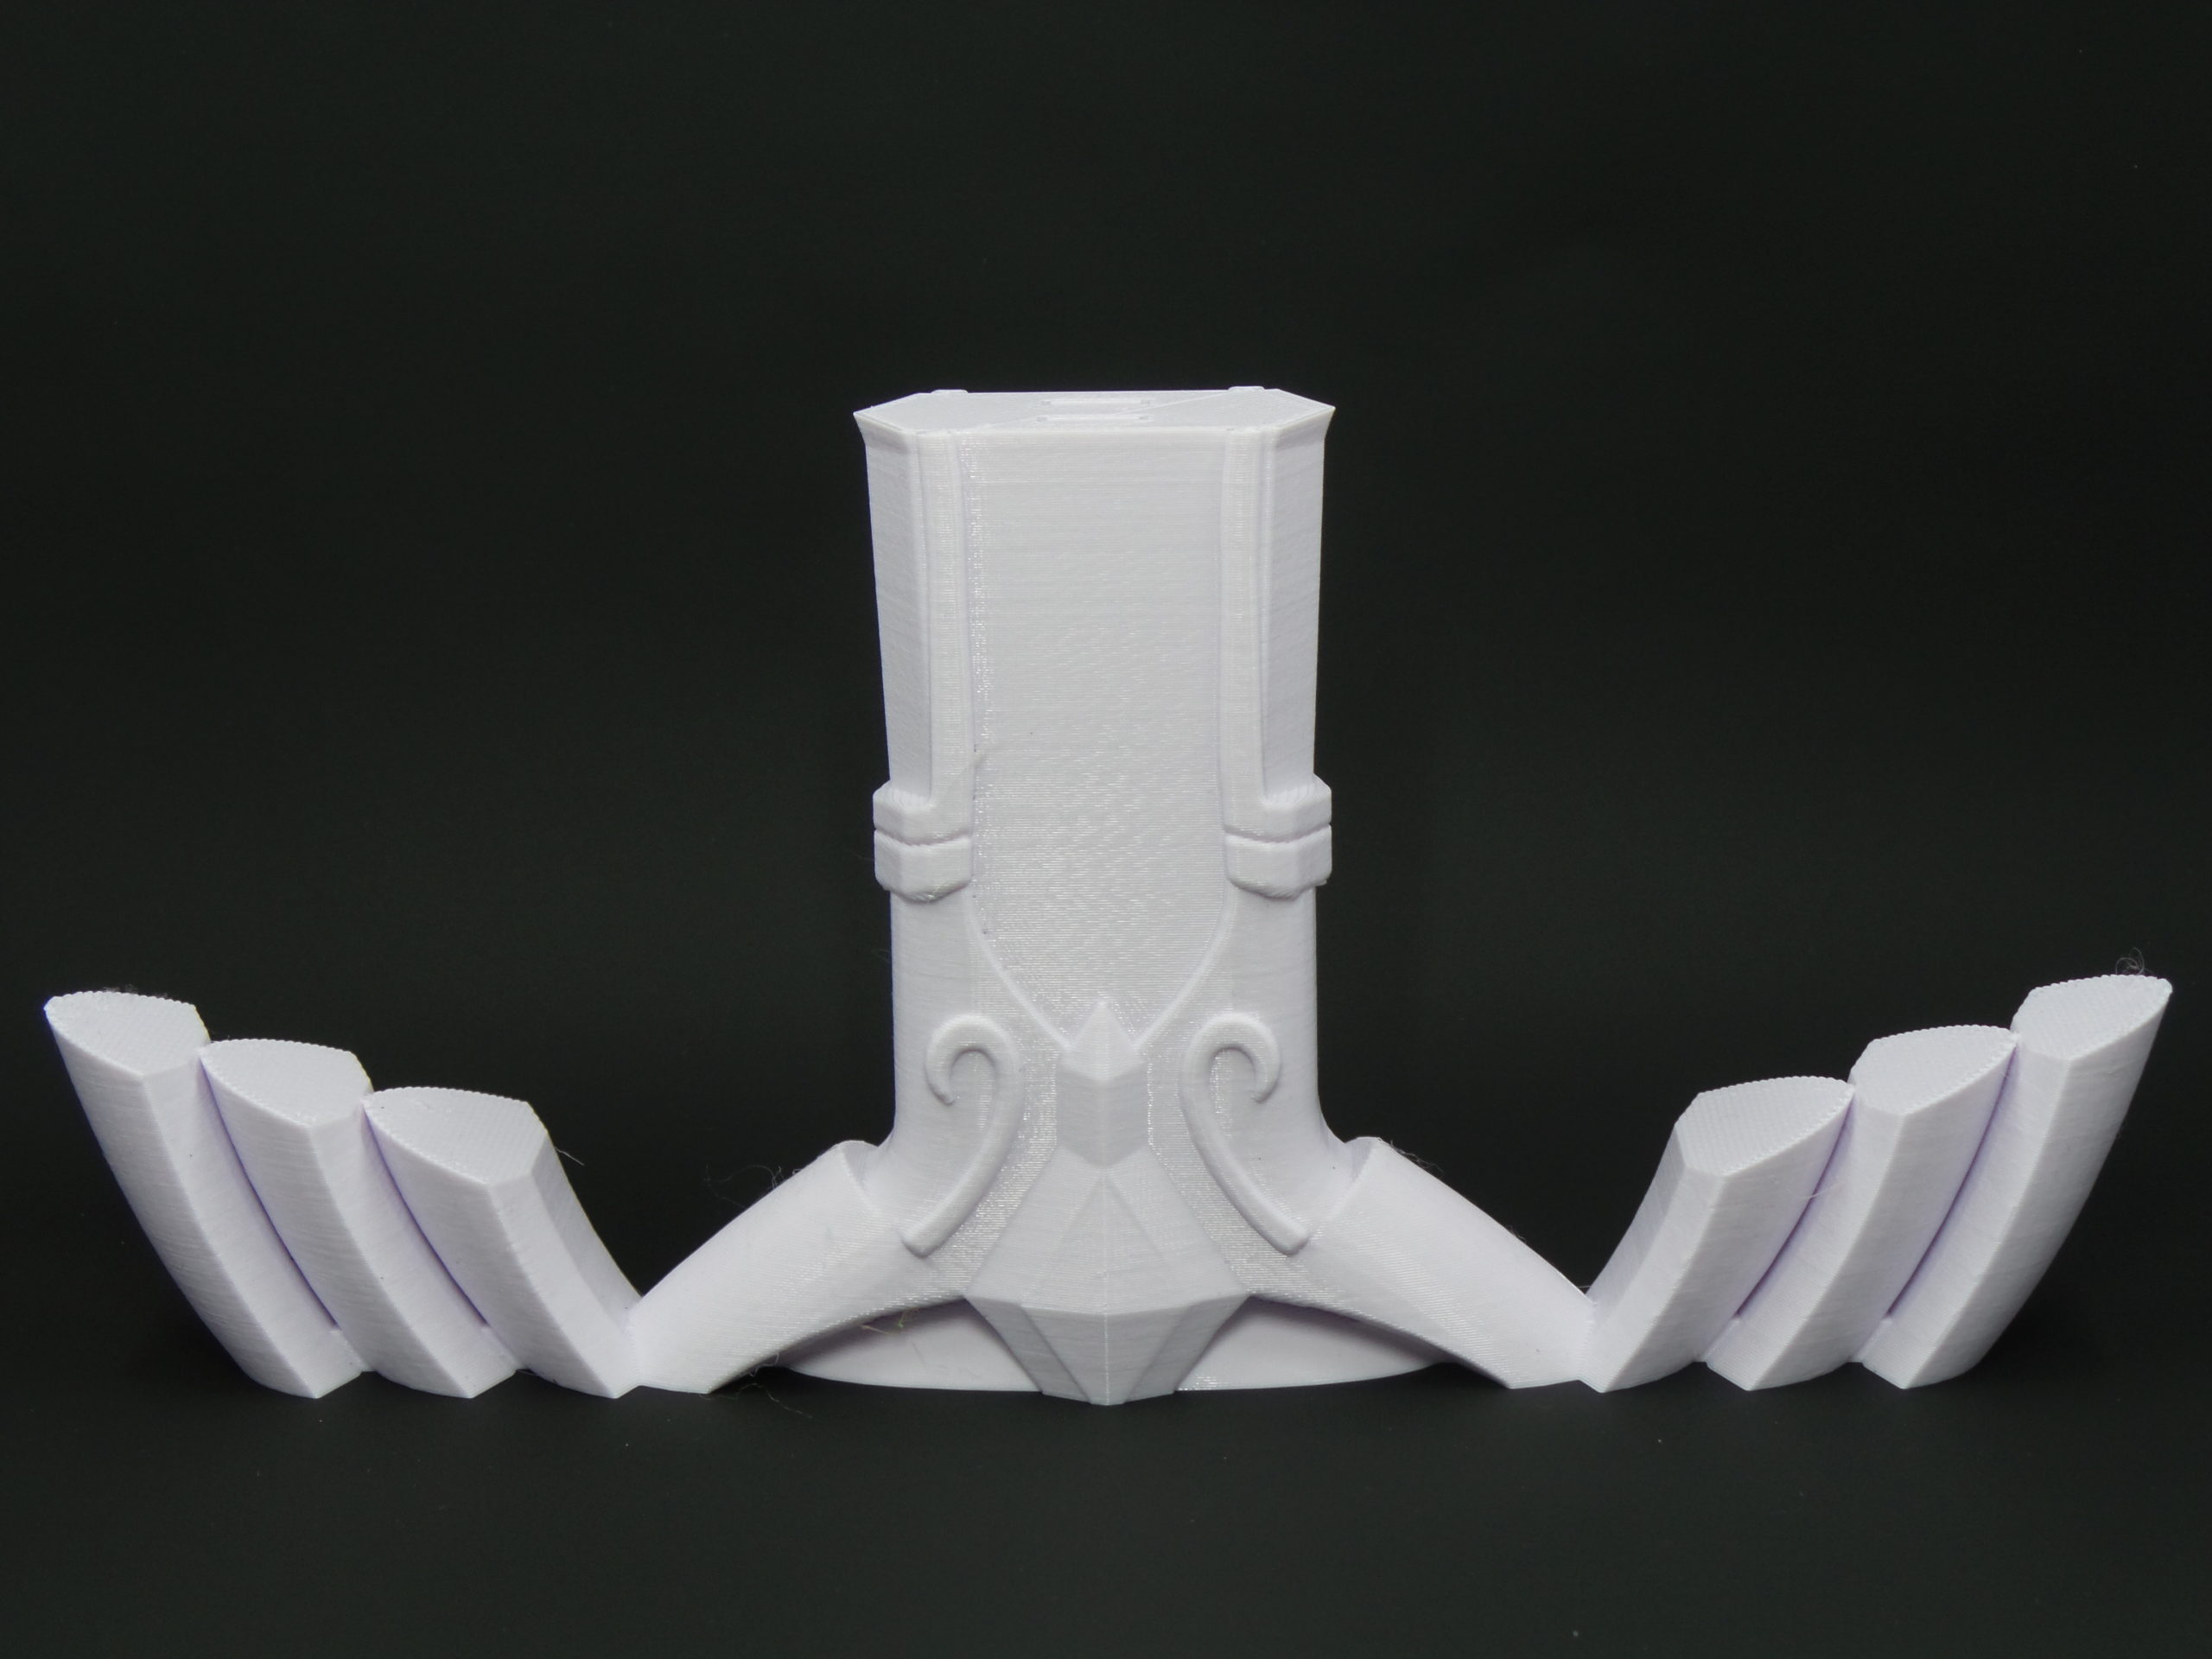
The Master Sword print went fairly quickly. The combination of a larger nozzle size combined with a relatively high layer height make for a quick print. There wasn’t to much worry about the loss of detail that we might have gotten with a smaller nozzle and lower layer height because the model was so large and was going to require a fair amount of post-processing anyway. The designer of this model did an excellent job with the design to ensure no supports were required during the print. We only experienced a small amount of sagging around some of the detail on the guard which can easily be cleaned up during the post-process.
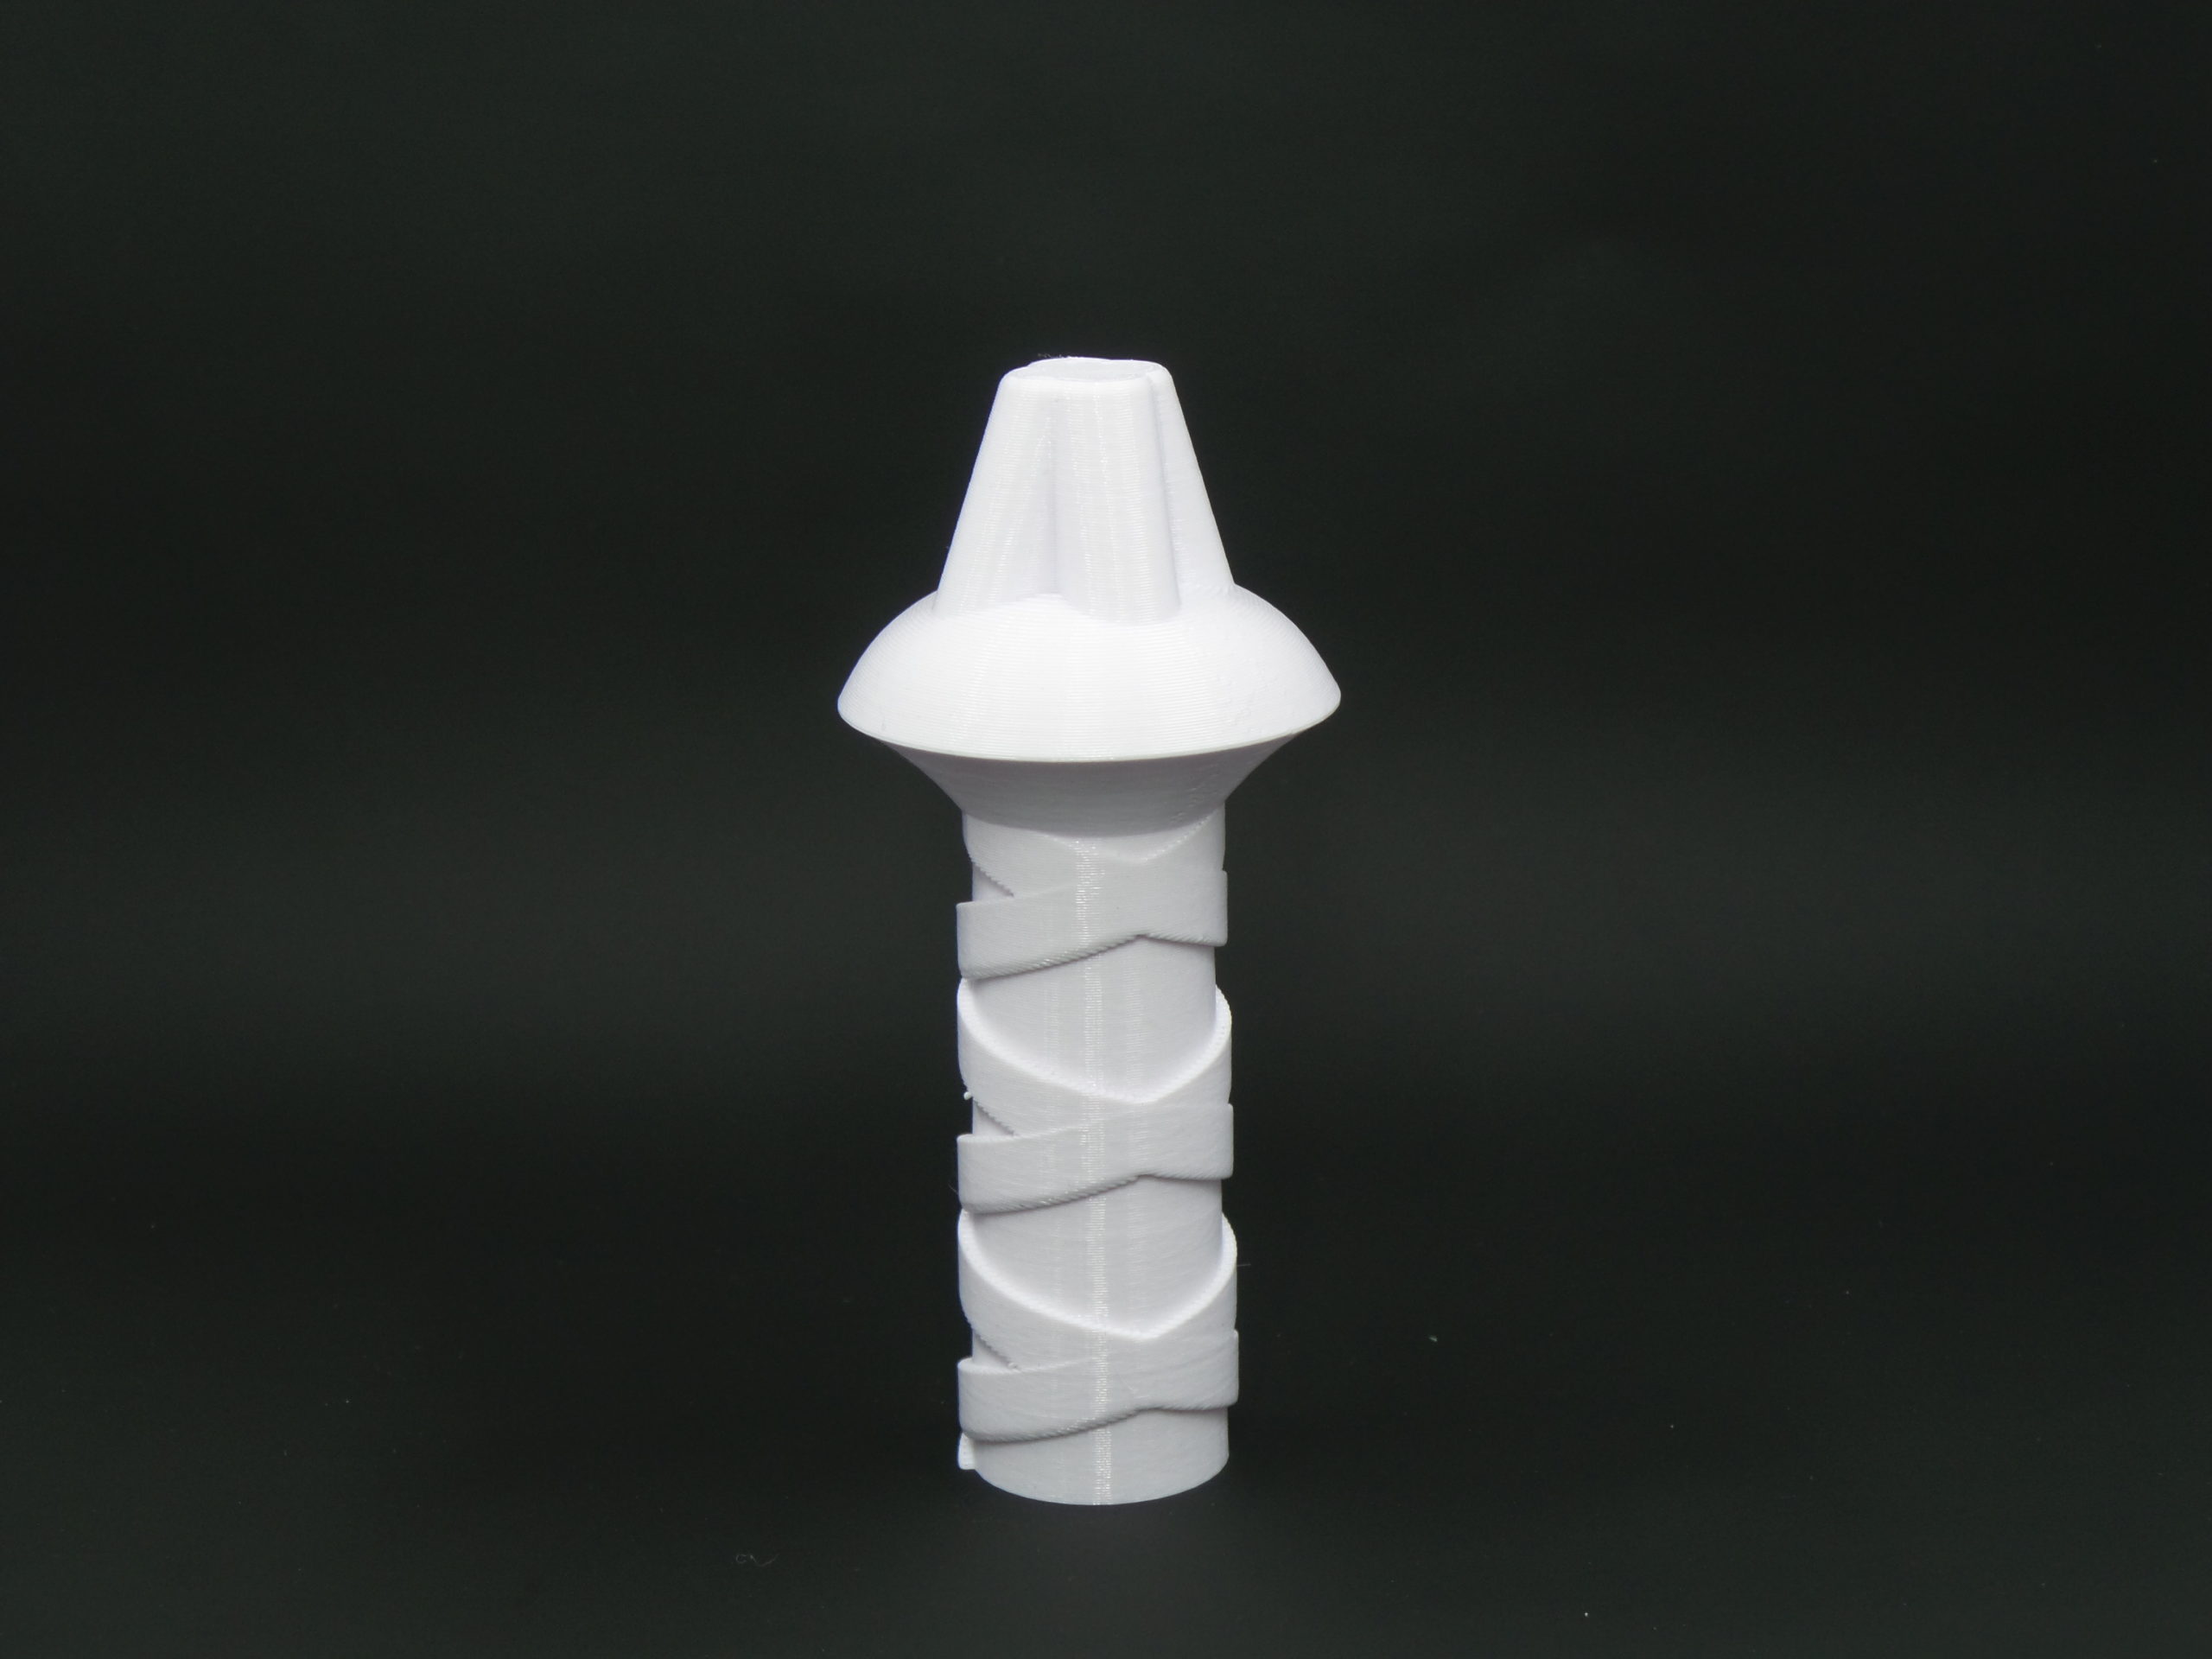
Take a look at some of the pre-assembly pictures to see what the pieces looked like before assembly.


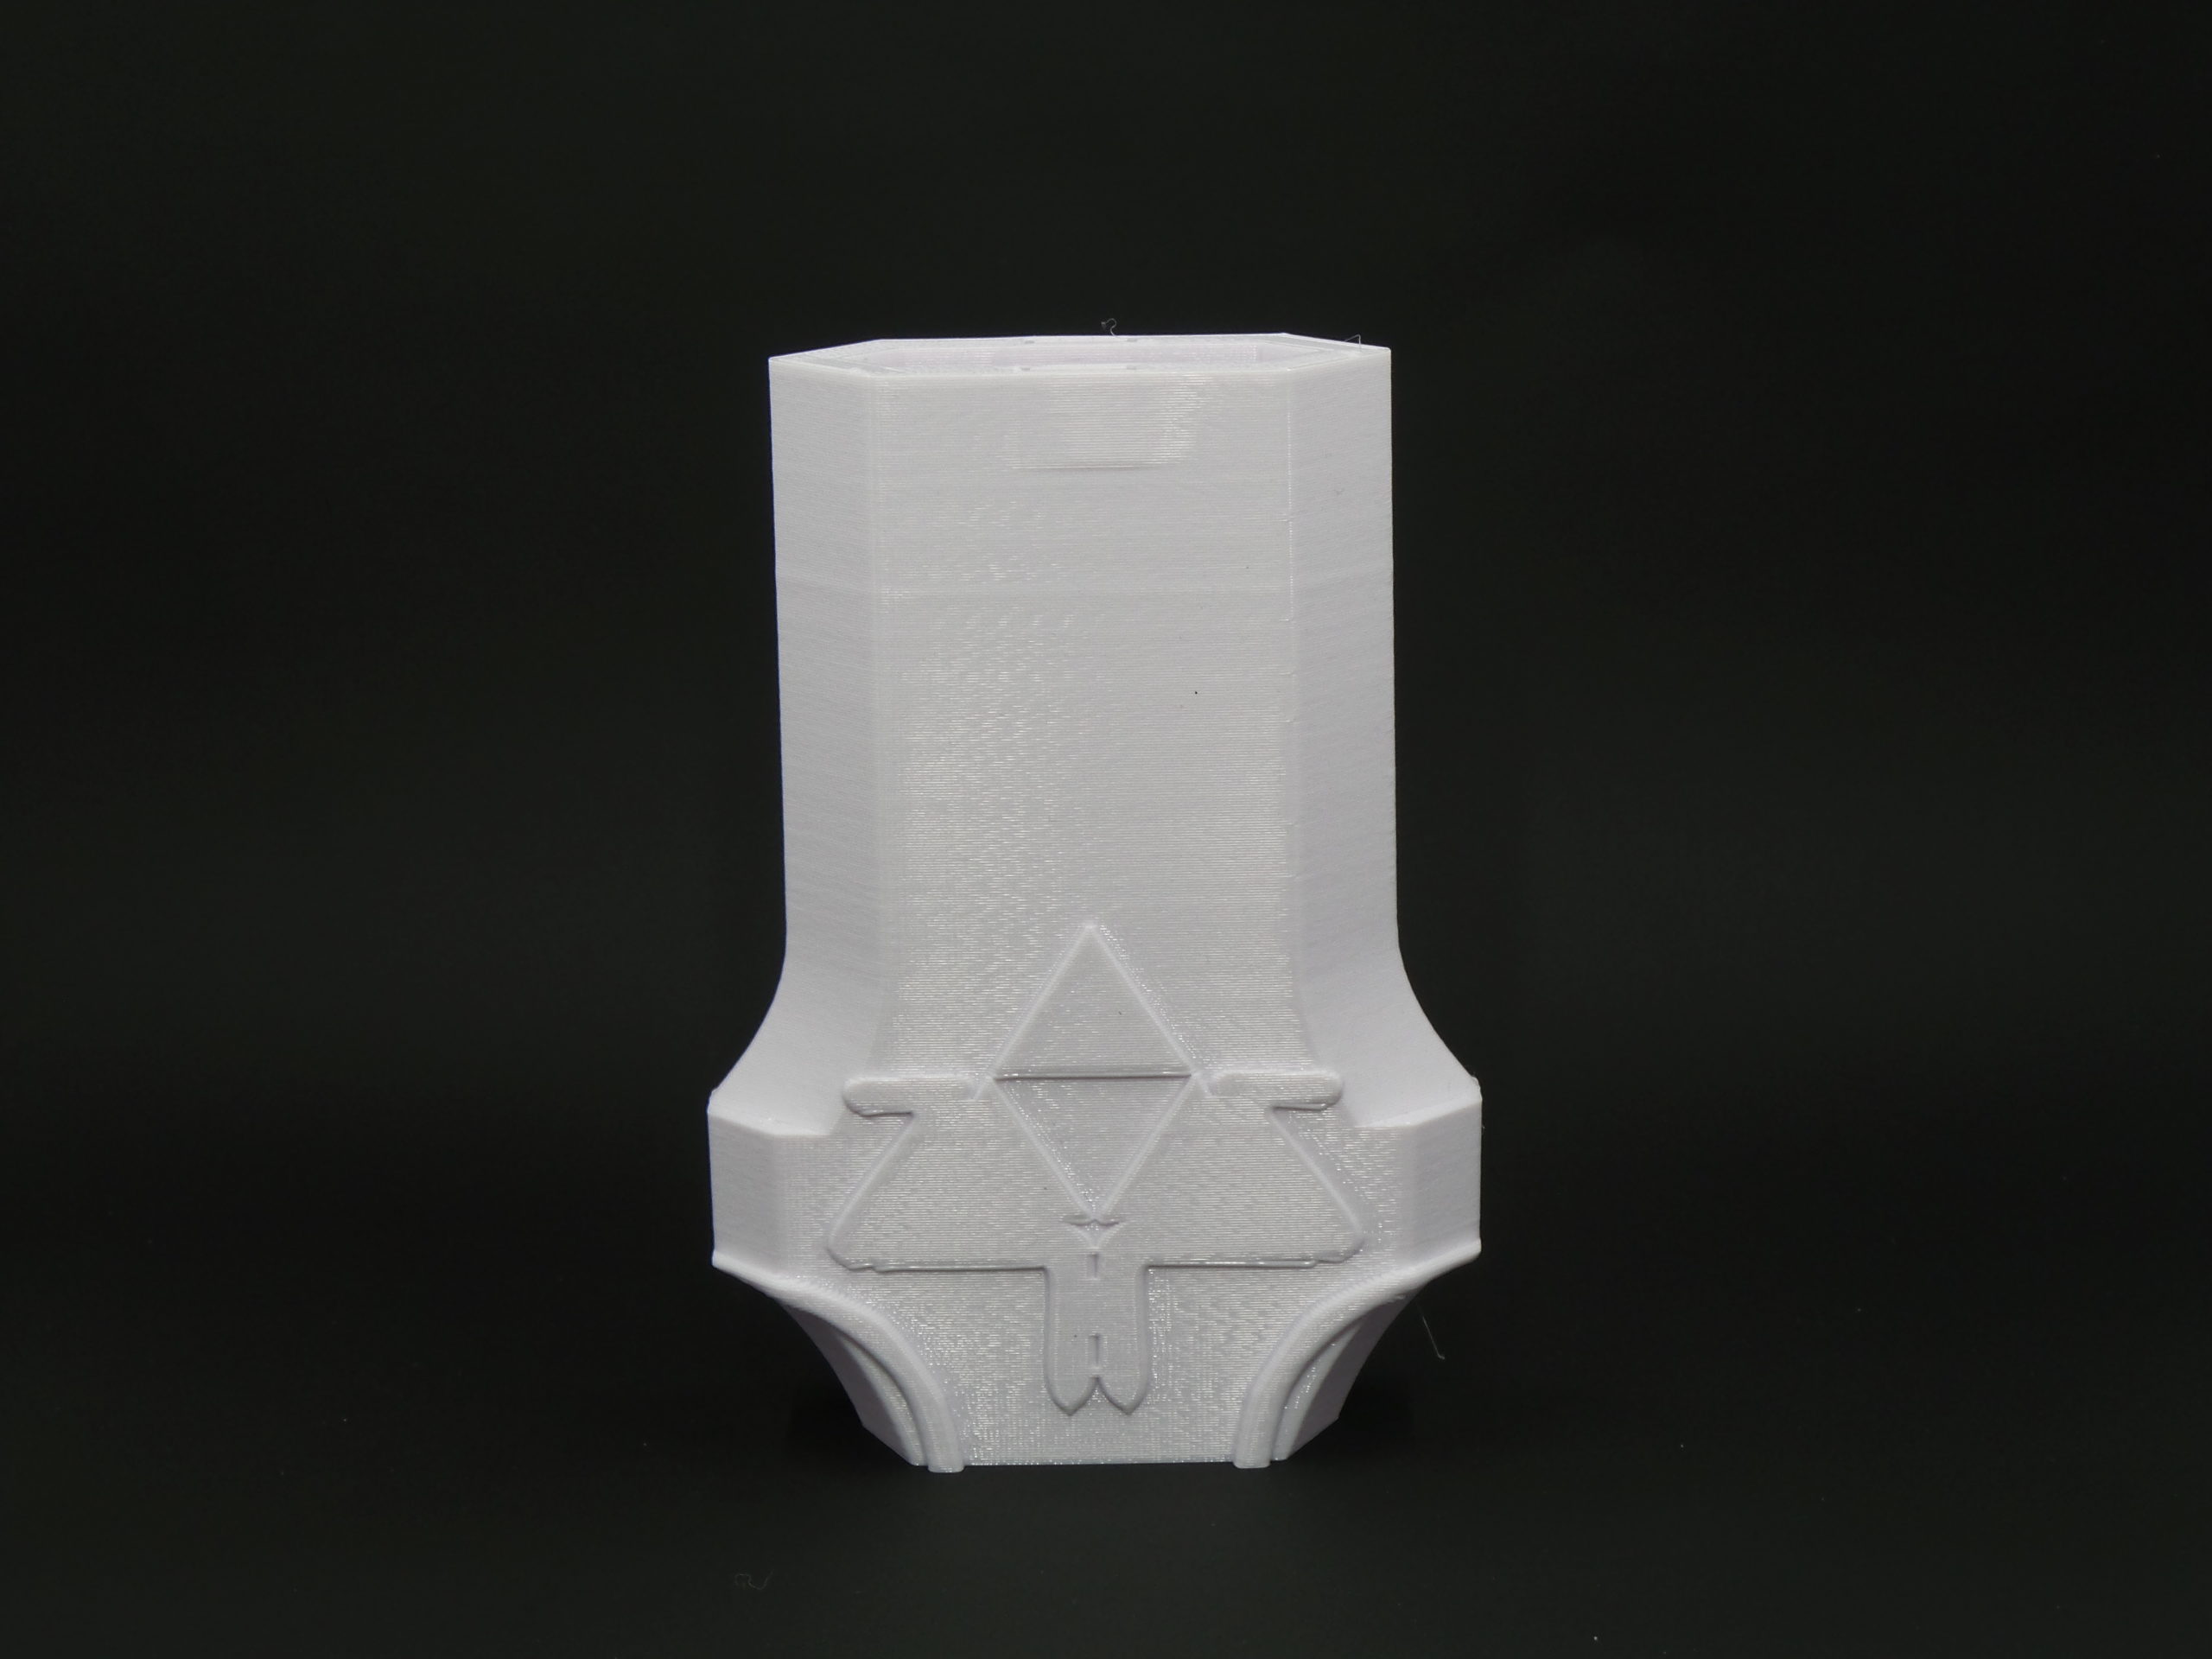
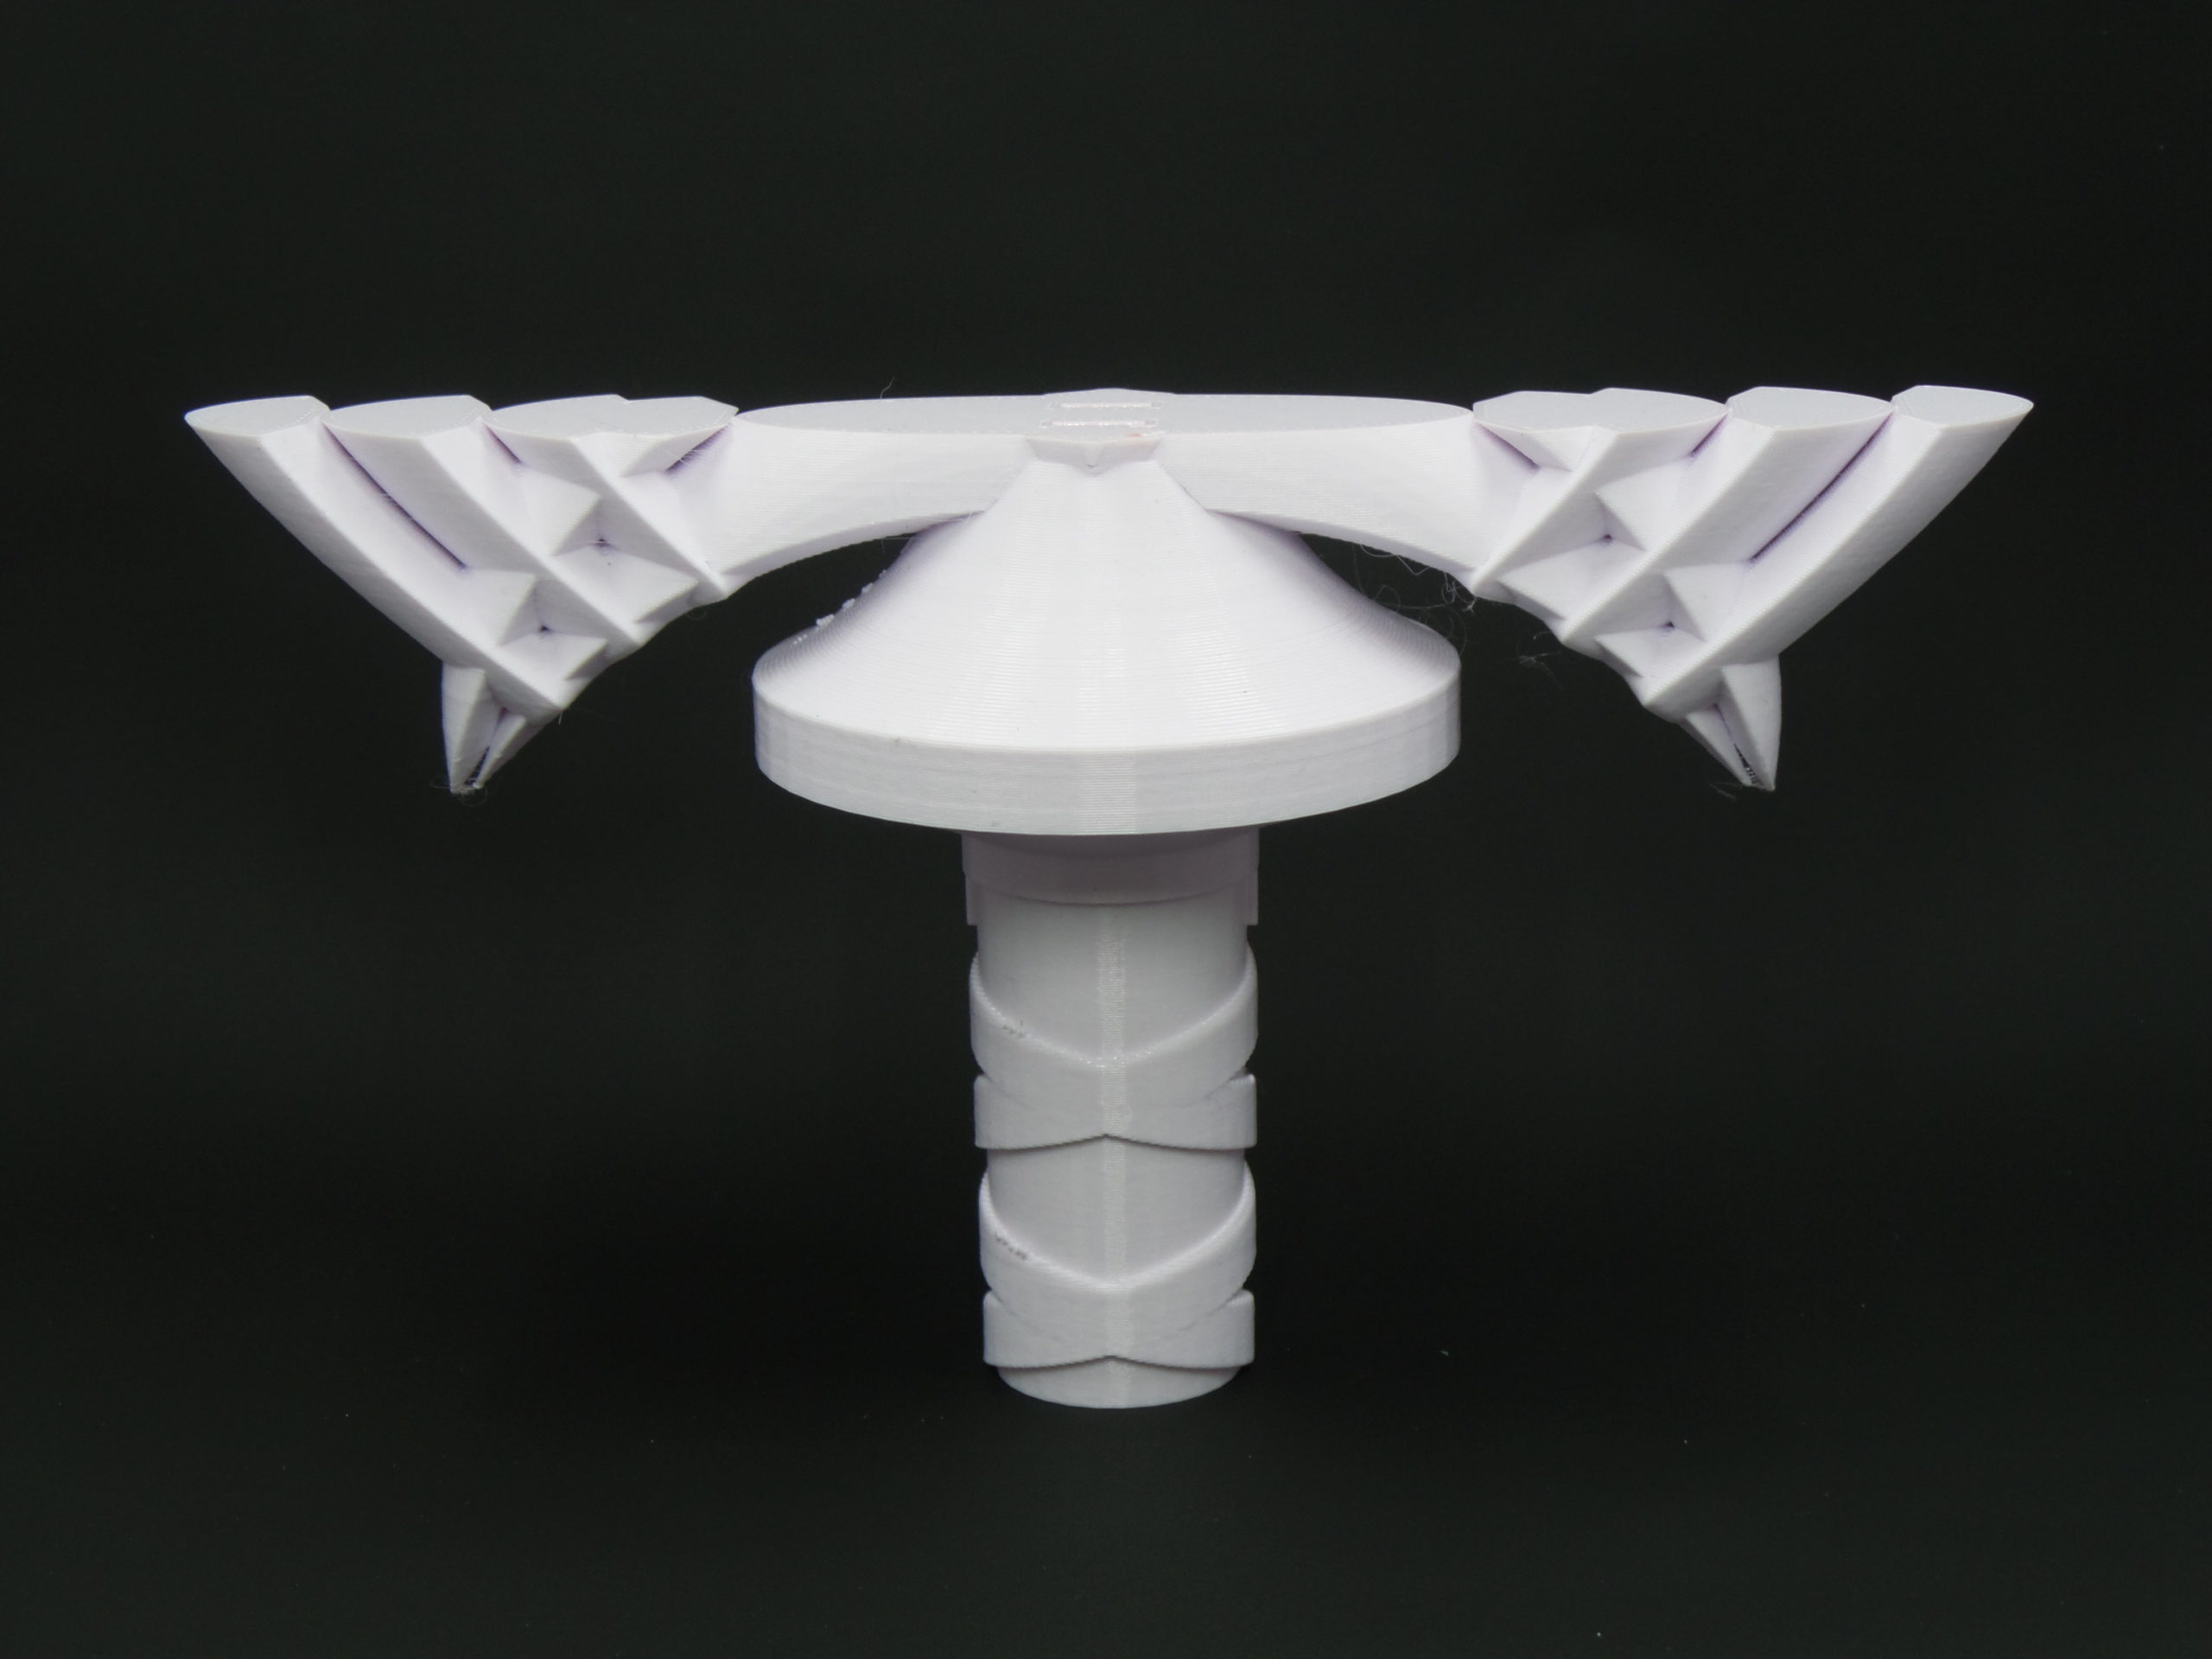
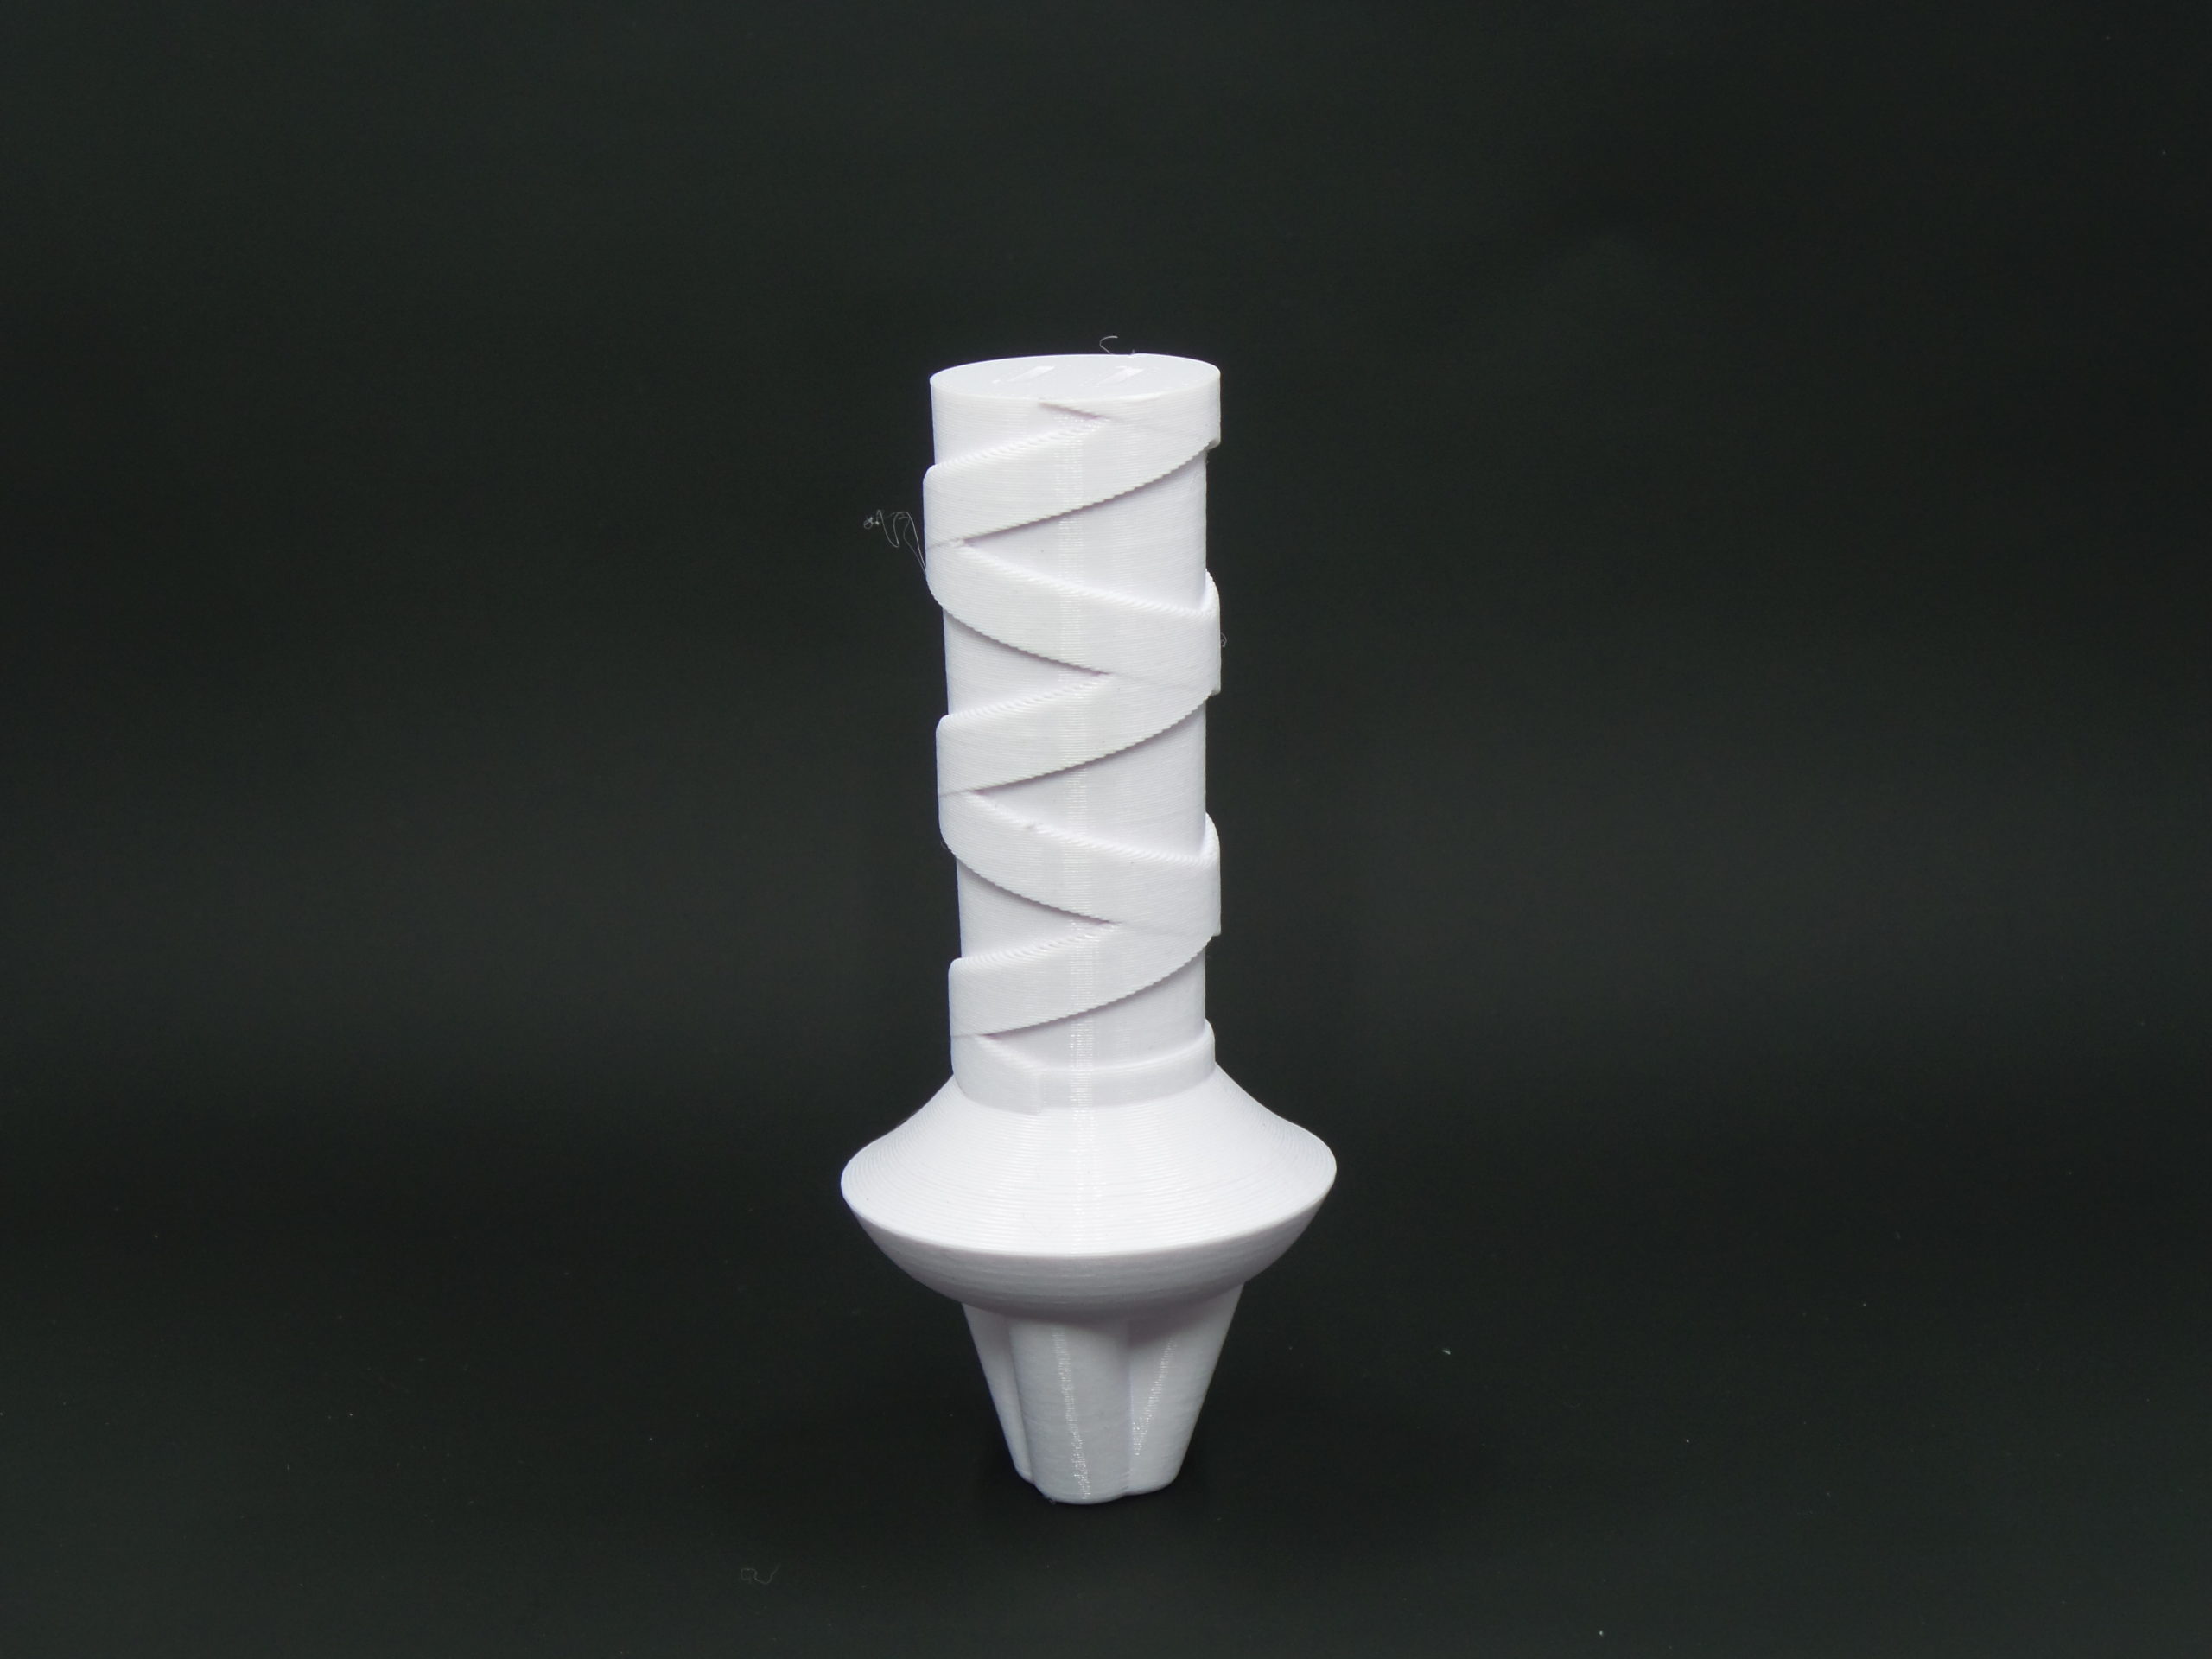
The original designer included a small tab in the printing plans to make assembly easier. It’s important to remember though, these tabs aren’t for holding the sword together without glue. They’re just a guide to make assembly easier. Some cleaning up was required on the parts of the model that would contact each other to make a smooth fit. Once I was happy with how the pieces were fitting together, I bit the bullet and applied the Gorilla Glue. During the gluing process make sure that the pieces are straight! I was so concerned about the parts with glue on them that I completely neglected to make sure the blade surface was straight. As a result, the very top piece of the sword is skewed ever so slightly. It isn’t that noticeable but I wish I had thought of this before assembly.
Once all the glue was dry I was left with an awesome looking piece to add to my collection. Sanding and painting are up next, check back for updates!